by CCSA Admin | Jun 3, 2026 | Blog
In a world filled with mass-produced products and fast online shopping, more people are looking for something different when decorating their homes—something personal, meaningful, and unique. That’s why handmade home décor is making a major comeback.
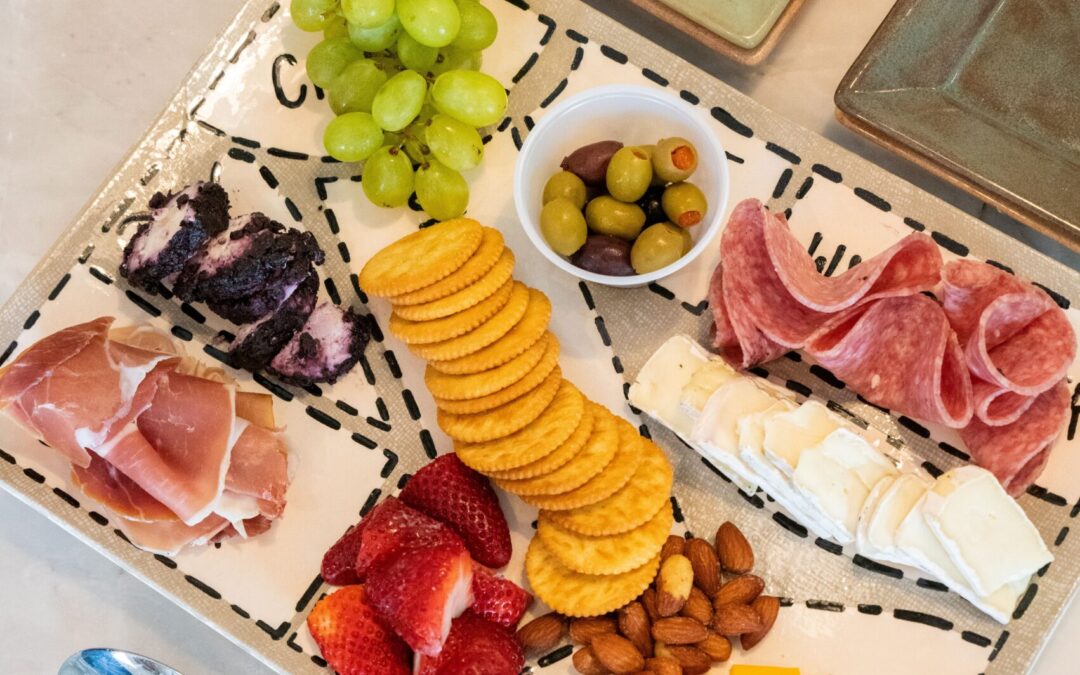
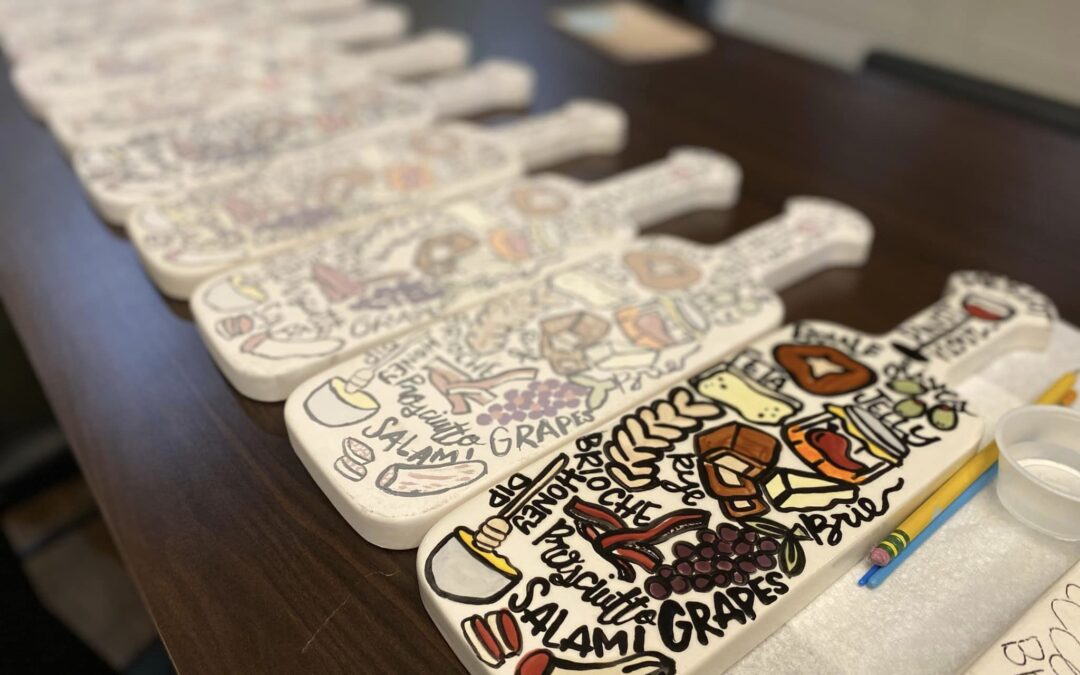
From custom mugs and serving platters to hand-painted planters and seasonal decorations, people are embracing DIY culture and filling their homes with pieces that tell a story. Instead of buying generic décor off a shelf, families and friends are choosing to create pieces that reflect their personality, memories, and style.
One of the biggest trends in home décor right now is personalization. Consumers want items that feel one-of-a-kind, whether it’s a handprint platter created with their children, a custom recipe plate featuring a family favorite, or a mug painted during a girls’ night out. Handmade pottery brings warmth and personality into a home in a way factory-made décor simply can’t.
Social media and DIY culture have also fueled the popularity of creative experiences. Platforms like Pinterest, Instagram, and TikTok are filled with inspiration for custom pottery, seasonal tablescapes, personalized gifts, and creative home accents. People are no longer just shopping for décor—they’re looking for experiences where they can create it themselves.
That’s where paint-your-own pottery studios come in.
Local pottery studios offer a fun, beginner-friendly way to create custom home décor while making memories along the way. Guests can paint everything from:
• Seasonal serving pieces
• Personalized mugs and dinnerware
• Decorative vases and planters
• Holiday décor
• Kitchen accessories
• Pet bowls
• Family keepsake pieces
The best part? No artistic experience is needed. Pottery studios provide all the materials, tools, and guidance to help guests create something beautiful and functional for their home.
Handmade décor also makes meaningful gifts. Instead of giving something generic, many people are creating personalized pottery for weddings, housewarmings, birthdays, holidays, and special milestones. These pieces often become treasured keepsakes used year after year.
As people continue to seek slower, more intentional activities, pottery painting offers more than just décor—it offers creativity, connection, and memories. Whether you’re looking to refresh your home, create a personalized gift, or simply enjoy a relaxing creative outing, your local paint-your-own pottery studio is the perfect place to start.
Ready to create something uniquely yours? Use the CCSA Studio Locator to find a pottery studio near you and discover the growing world of handmade home décor. https://www.ccsaonline.com/studio-locator-?MapView=true
by CCSA Admin | Jun 3, 2026 | Blog
Team Building Activities That Don’t Feel Like Work
Let’s be honest, when most people hear “team building,” they picture awkward icebreakers, forced fun, and activities that feel more like a chore than a reward. But what if team building could actually be something your group looks forward to?
That’s where paint-your-own pottery (PYOP) comes in.
A Refreshing Take on Team Building
The best team building experiences happen when people feel relaxed, creative, and free to be themselves. In a pottery studio, there’s no pressure to perform, just the simple joy of creating something with your hands.
Whether your team is painting mugs, plates, or seasonal décor, everyone can participate at their own pace. No special skills required. No competition (unless you want it). Just a shared experience that brings people together naturally.
Why It Works
1. It encourages real connection
Without the structure of typical workplace activities, conversations flow more easily. People chat, laugh, and bond without even realizing it’s “team building.”
2. It sparks creativity
Stepping away from screens and daily tasks helps your team think differently. Creativity boosts morale and can even lead to fresh ideas back at work.
3. It’s low-pressure and inclusive
Not everyone loves physical challenges or public speaking. Painting pottery is approachable for all personalities and abilities, making it an ideal group activity.
4. It creates lasting memories
Long after the event, your team members will still have their finished pieces—a mug on their desk or a bowl at home that reminds them of the experience.
Perfect for Any Team
Paint-your-own pottery events are a great fit for:
- Small businesses and large companies
- Corporate teams and creative groups
- Staff appreciation events
- Holiday parties or milestone celebrations
Studios can often accommodate private events, offer guided instruction, and even customize projects to fit your group’s goals.
More Than Just an Activity
What makes pottery painting stand out is that it doesn’t feel like team building, it feels like a break. And sometimes, that’s exactly what your team needs.
When people are relaxed and having fun, connections happen naturally. That’s the kind of experience that strengthens teams in a meaningful, lasting way.
Plan Your Next Team Event
If you’re looking for a team building activity that’s creative, stress-free, and genuinely enjoyable, consider hosting your next event at a local paint-your-own pottery studio.
Your team will leave with something they have made and a stronger connection to each other.

by CCSA Admin | Apr 13, 2026 | Blog
When was the last time you and your friends got together and did something different?
Dinner and drinks are always fun, but if you’re looking to switch things up, laugh a little more, and create something meaningful together, pottery painting might just be your new favorite girls’ night out.
It’s Creative (Even If You’re “Not Artistic”)
One of the best things about paint-your-own pottery is that anyone can do it. You don’t need experience or artistic skills to have a great time. Studios provide everything you need: from pre-made pottery pieces to paints, tools, and guidance.
Whether you go bold and colorful or simple and classic, every piece turns out uniquely yours.
It’s the Perfect Mix of Fun and Relaxing
Girls’ night should feel easy, and pottery painting delivers just that.
You can chat, catch up, laugh, and unwind while you paint. There’s no pressure, no strict schedule, and no distractions, just time together and a creative outlet that helps everyone relax.
It’s a Social Experience
Many studios offer a welcoming, laid-back environment that’s perfect for groups. Some even host special events, themed nights, or allow you to bring snacks and drinks.
It’s a chance to:
- Celebrate birthdays or milestones
- Plan a casual get-together
- Reconnect with friends
- Or simply enjoy a night out doing something different
You Leave With More Than Memories
At the end of the night, you don’t just leave with photos, you leave with something you created. Most ceramic items will be ready for pick up after a week, once they are glazed and fired in the kiln.
A mug, plate, bowl, or décor piece becomes a lasting reminder of time spent together. Every time you use it, you’ll think back to that night and the people you shared it with.
It Works for Every Kind of Group
Pottery painting is incredibly versatile. It’s perfect for:
- Small friend groups
- Moms’ nights out
- Birthday celebrations
- Bachelorette gatherings
- Work friends or team bonding
No matter the group, it’s an experience everyone can enjoy together.
Plan Your Girls’ Night at a Local Pottery Studio
Ready to plan your next girls’ night?
Paint-your-own pottery studios are located all across the country, each offering their own unique atmosphere, pottery selection, and events.
Use the CCSA Studio Locator to find a studio near you and start planning your night out. https://www.ccsaonline.com/studio-locator-?MapView=true
Make It a Night to Remember
Skip the usual routine and try something creative, relaxing, and genuinely fun. Pottery painting is more than an activity, it’s an experience that brings people together.
So grab your friends, pick your pottery, and make your next girls’ night one to remember.

by CCSA Admin | Apr 13, 2026 | Blog
When you walk into a paint-your-own pottery studio, you’re not just picking out a mug or plate.
You’re stepping into a space where birthdays are celebrated, friendships grow, date nights get creative, and families unplug, even if just for a couple of hours.
Across the country, independently owned studios create these welcoming spaces every single day. Behind the scenes, many of them are supported by the Contemporary Ceramic Studios Association (CCSA), a nonprofit organization dedicated to helping paint-your-own pottery studios thrive.
It’s About the Experience
Sure, you leave with pottery. But what you really take home is:
- The memory of your child’s first handprint plate
- The laughter from girls’ night
- The pride of finishing something you created yourself
- A screen-free afternoon that felt different
There’s something powerful about slowing down, picking up a brush, and making something with your hands. No experience required. No pressure to be “artsy.” Just creativity at your own pace.
Small Businesses, Big Heart
Most paint-your-own pottery studios are locally owned small businesses. They hire local staff, support community events, host fundraisers, and create safe, inclusive spaces for all ages.
The CCSA works behind the scenes to provide studio owners with education, safety standards, industry best practices, and collaboration opportunities. That support helps ensure your experience is thoughtful, creative, and consistently high quality.
When studios are supported, customers feel the difference.
Why It Matters
In a world that’s increasingly digital, these creative spaces offer something real. You sit together. You talk. You laugh. You create something that lasts.
That matters.
And when you choose a CCSA-member studio, you’re supporting:
- A local entrepreneur
- Local jobs
- Community gathering spaces
- Creative experiences for kids, families, and friends
Ready to Paint?
There’s likely a CCSA-member studio near you, ready to welcome you in.
Find a CCSA studio near you and plan your next creative outing today. https://www.ccsaonline.com/studio-locator-?MapView=true
Whether it’s a birthday party, team event, family tradition, or just a spontaneous afternoon of painting, your local pottery studio is ready to help you make something meaningful.

by CCSA Admin | Jan 20, 2026 | Blog
Scroll through TikTok or Pinterest lately and you’ll likely spot a charming trend that’s capturing hearts everywhere: hand-painted birthday plates. These one-of-a-kind plates are more than just adorable décor — they’re becoming a meaningful tradition for families who want to make birthdays feel extra special year after year.
There’s something incredibly sweet about pulling out the same plate every birthday — the one with your child’s name, favorite colors, or a design chosen just for them. It becomes part of the celebration, holding cake, candles, and memories all at once. Over time, it tells a story: growing hands, changing tastes, and milestones marked year after year around the table.
What makes these plates even more meaningful is who painted them. A parent carefully choosing colors, a grandparent adding a heartfelt detail, or an aunt or uncle creating something just for their favorite kid — that love is baked right in. Long after childhood birthdays have passed, these plates often become treasured keepsakes, tucked away safely and pulled out with smiles and stories.
If you’re inspired to start (or gift) this tradition, your local paint-your-own pottery studio is the perfect place to begin. Studio staff can help with design ideas, lettering tips, handprint options, and tricks to make your plate both beautiful and functional for years of celebrations. Visit a studio near you to get hands-on guidance and create a birthday plate that’s as special and unique as the child it’s made for — a tradition they’ll cherish forever.

by CCSA Admin | Dec 15, 2025 | Blog
The holiday season is all about slowing down, savoring the moment, and making memories with the people you love. In a world that moves fast, finding time to connect can feel harder than ever—but that’s exactly why creating together matters.
One of the most meaningful (and fun!) ways to do that? Painting pottery.
A Relaxing Way to Make Memories
When you gather around a table with paints, brushes, and a blank piece of pottery, something special happens. Phones go down. Conversations start. Creativity flows. Kids light up. Grown-ups relax. You’re not just “doing an activity”—you’re sharing time that feels calm, intentional, and joyful.
Whether you’re painting with little ones, teens, grandparents, or a group of friends, it’s a chance to slow down and make space for connection.
Art That Lasts a Lifetime
One of the best parts of creating pottery is that you walk away with more than a memory—you walk away with a keepsake.
Ceramics don’t fade or fall apart over the years. They last, which means the mug your child painted with wobbly stripes or the ornament covered in tiny handprints becomes a treasured piece you can pull out year after year.
Holiday ornaments are especially magical. Every time you decorate the tree, you get to revisit those moments:
- the year your kids painted matching ornaments
- the year everyone tried a new technique
- the year you created a special piece to honor someone you love
And of course, there’s nothing more nostalgic than painting one of those classic light-up vintage trees. They instantly bring back childhood memories—and creating one with your own family adds a new layer of meaning.
A Tradition Worth Passing Down
When you paint pottery during the holidays, you’re doing more than making an art project. You’re creating traditions.
These pieces become part of your story—the items your kids will remember, the keepsakes you’ll unpack for decades, and the memories that get passed down through generations.
Long after the season’s busyness fades, the memories you make creating together remain. And your pottery becomes a beautiful reminder of those moments.
This Holiday Season, Make Time to Create
If you’re looking for a way to slow down, reconnect, and make something truly special, a visit to a paint-your-own pottery studio is the perfect place to start.
Come in, get creative, and make something meaningful—something you’ll cherish this year, next year, and every year after.