by CCSA Admin | Jun 4, 2024 | Blog
Amidst life’s challenges, prioritizing quality time with loved ones is essential for a fulfilling life. Discover the numerous benefits of spending time with family and friends, and explore engaging activities like painting pottery to strengthen your bonds and create lasting memories.
The Benefits of Family Time: A Comprehensive Guide
In today’s fast-paced world, carving out time for family activities has become more important than ever. Here’s why investing in family time is a cornerstone of well-being and happiness:
-
Improves Mental Health: Face-to-face interactions within a close social network can significantly reduce feelings of depression and anxiety, providing crucial emotional support during tough times.
-
Enhances Academic Performance: Children who spend quality time with their parents tend to excel academically, as they learn valuable communication skills and the importance of education.
-
Lowers Risk of Behavioral Issues: Family bonding reduces the likelihood of behavioral problems in children, fostering positive behavior patterns and providing an outlet for emotional expression.
-
Boosts Self-Confidence: Building strong family relationships nurtures self-esteem and confidence in both children and parents, fostering a sense of value and appreciation.
-
Teaches Essential Life Skills: Family time is a platform for teaching conflict resolution, effective communication, and future caregiving skills, preparing children for adulthood.
-
Reduces Stress: Healthy family relationships encourage healthy coping mechanisms for stress, promoting emotional well-being and overall physical health.
-
Promotes Adaptability and Resilience: A strong family bond instills a sense of belonging and purpose, empowering individuals to navigate life’s challenges with resilience.
-
Enhances Physical Health: Engaging in family activities like shared meals and outdoor pursuits contributes to improved physical fitness and overall well-being.
-
Lengthens Life Expectancy: Research shows that maintaining healthy relationships can increase life expectancy significantly, highlighting the profound impact of family time on longevity and happiness.
Explore Family-Friendly Activities at Your Local PYOP Studio!
Ready to experience the transformative power of family time? Visit your local pottery studio (link: https://paintyourownpottery.com/) to discover exciting projects and create cherished memories with your loved ones. Embrace the joy of bonding through creativity and shared experiences. Start your family adventure today!

by CCSA Admin | Apr 22, 2024 | Blog
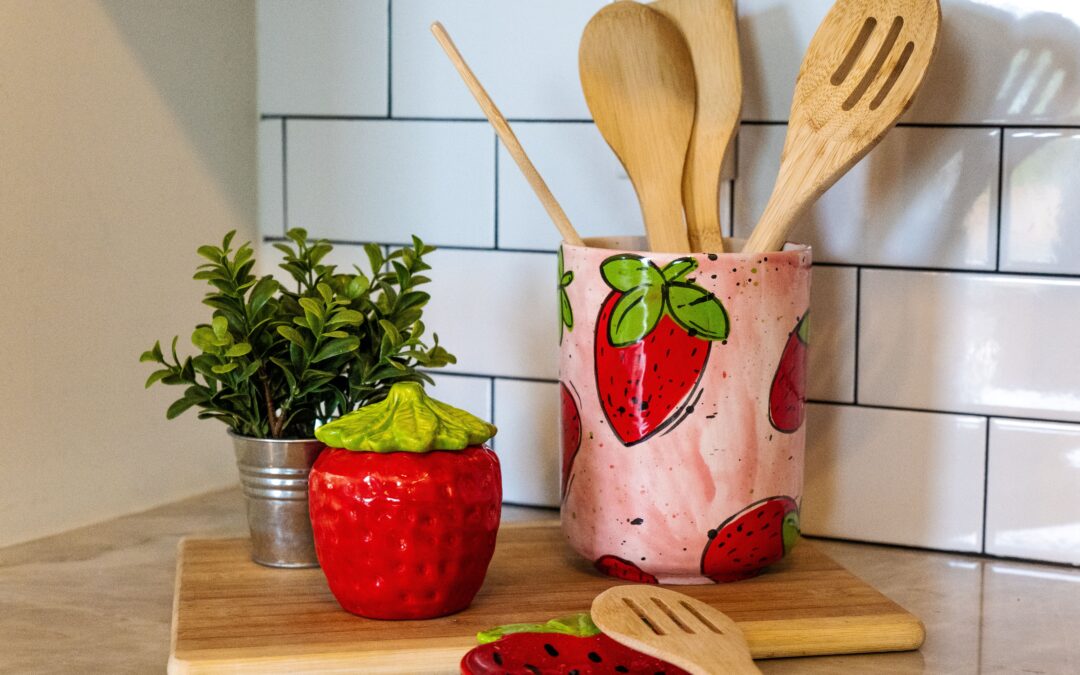
If you’re looking to get some new home decor in your exact style, paint-your-own-pottery can be a great solution! Make your version of a designer piece, paint with glazes that match your home’s
color scheme, or simply choose an item you need and paint it with no plan. This art can be fully functional, an investment in both a good experience and a lasting utility.
In your local studio, you will notice there are tons of options to choose from. Seasonal decor, kitchen essentials, bathroom accessories, anything you need. For small touches that bring life to a home,
like spong holders and olive oil bottles, PYOP is more personal than anything you can buy in a store or online. You can also completely customize the item to your style.
One very cute and special approach to decorating with PYOP is to paint an item with your loved ones. If you want to paint mugs with your partner, pick out colors that match your kitchen and surprise
each other with the design. Or, give your children a color palette and let them paint whatever items you need. Once they have smushed paint all over the item, use a thin brush with a dark color to add their name
and the date to the piece. This is a memory you’ll hold forever, and they will grow up using the item they decorated as a child.
To honor other special people in your life, use PYOP to pay homage. For example, a canister for your kitchen can have your grandmother’s recipe on the front, or a frame can have a quote from a loved
one. Your style can seamlessly blend with the things that warm your heart like being reminded of a loved one.
If choosing the right piece can be daunting, consider taking photos of your home before going to the studio. Take a look at the shelves, and the photos, and see where each item would go. Once you find
the perfect item, you’ll already have a reference for what colors to choose.
To get started with adding unique and personal touches to your home, check out your local studio. They may also offer classes for specific techniques or non-pottery crafts. Cheers to creating!

by CCSA Admin | Mar 25, 2024 | Blog
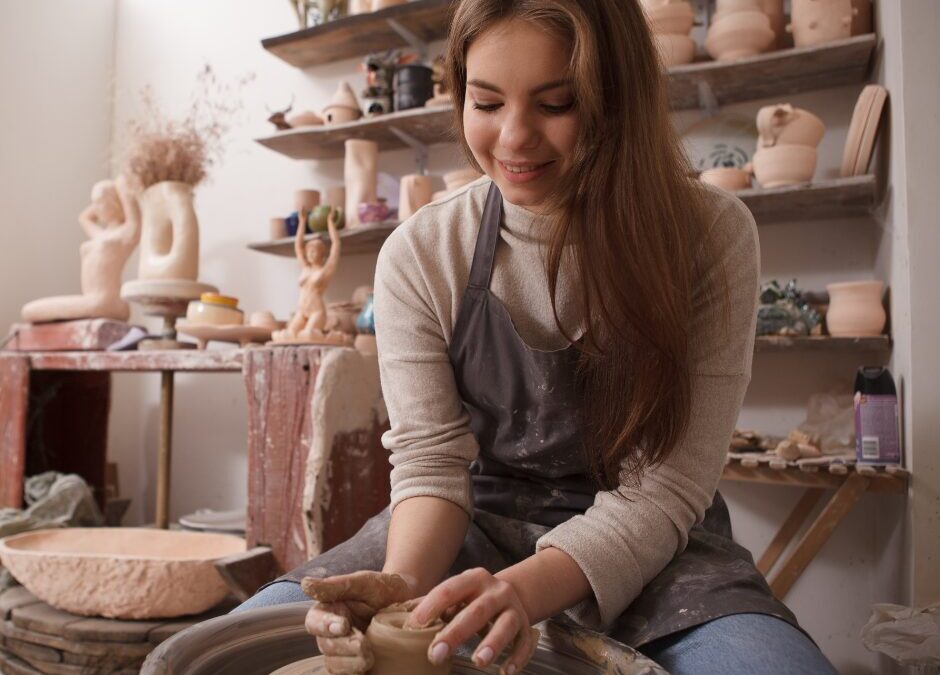
While wheel-throwing can only be learned through experience, it is helpful to understand the logistics of the practice before beginning. Using wet clay is a process that takes a long time and lot’s of
patience, but truly anyone can learn to master the skills.
Before throwing on a wheel, you first need to wedge the clay. Wedging is the term used for preparing the clay by compressing it, to get rid of any air bubbles. Wedging can be done on a table,
preferably a cork one, or in your hands by smacking the clay into a ball shape. Your approach to wedging will likely depend on how many pounds of clay you’re using. For beginners, we suggest starting with one
pound.
The first and most important step of wheel throwing is centering. This can be deceivingly difficult at first, but becomes muscle memory. Begin by securing your ball of clay to the dry bat, as close the to center as you can. Then, anchor your left arm to the edge of the wheel and cup your left hand firmly around the base of the clay. With your right hand, use the base of your palm to firmly press upward. This will make more sense when you can practice in person. Ultimately, you will squeeze the clay upward to a cone shape, then work it back down to a mound. The more you do this, the more centered the clay will become, and it will eliminate any lingering air bubbles.
The best way to practice throwing is by making a cylinder. Once you can throw a cylinder with even walls, you will have a very strong foundation for anything else. To learn how to throw a cylinder, consider trying a pottery class at your local studio.
After throwing, pieces need to dry. If you want to keep working with your piece, to add a handle or carve out designs, you want it to dry to leather hard. This means the pot will hold its form, but still has
enough moisture to be malleable. This is when you can trim the base of the piece. If you’ve ever turned over a mug and seen a nice round edge or design, that is called a foot and is made in the trimming
process. You trim off excess clay and leave a satisfying shape or design.
Next, pots need to dry to what we call bone dry to be fired. There cannot be any moisture in the clay when it heads to the kiln. It usually takes a few days for pieces to dry completely. After it is out
of the kiln, about 36 hours later, you can begin to glaze. After glazing, pieces need to dry completely again, and then do another kiln cycle. It certainly is a waiting game!
While this process can seem daunting, it is very rewarding. There are many steps, but once you learn foundational skills, you can easily create anything you like. So, begin your wheelthrowing journey now!

by CCSA Admin | Feb 29, 2024 | Blog
While many people are familiar with the concept of paint-your-own-pottery, a lot of folks don’t know what goes on behind the scenes after you leave the studio. Keep reading for the complete guide on
everything PYOP.
When you arrive at your local studio, you’re greeted with rows of unfinished pottery waiting to be painted. These pieces are bisque pottery, meaning they have been fired once and are ready to be glazed.
These pieces were made in molds, fired, and shipped to your studio. They are very dry and porous, so they absorb moisture quickly. You will notice this as you paint, and your glazes seem to dry almost
instantly on the first coat.
While glazing, it is important to keep in mind that glazes work best in layers. For an opaque color, three thin coats of glaze will work best. Too few layers will be sheer, and too many layers will force the glaze to resist away from the piece during firing. This is called crawling. After you paint your piece, you must leave it at the studio and pick it up another time. But why? Because the glazing processes are far from finished. The glazes you used are called underglaze. They will turn shiny and vibrant after firing, but only the painted areas will be sealed. So, studios let the underglazes dry for 24 hours. Then, each piece is dipped by hand in an overglaze. This functions similarly to a topcoat with nail polish; The whole piece will be shiny and sealed, making it food-safe and more
pleasant to touch. This overglaze needs another 24 hours to dry before it can go in the kiln.
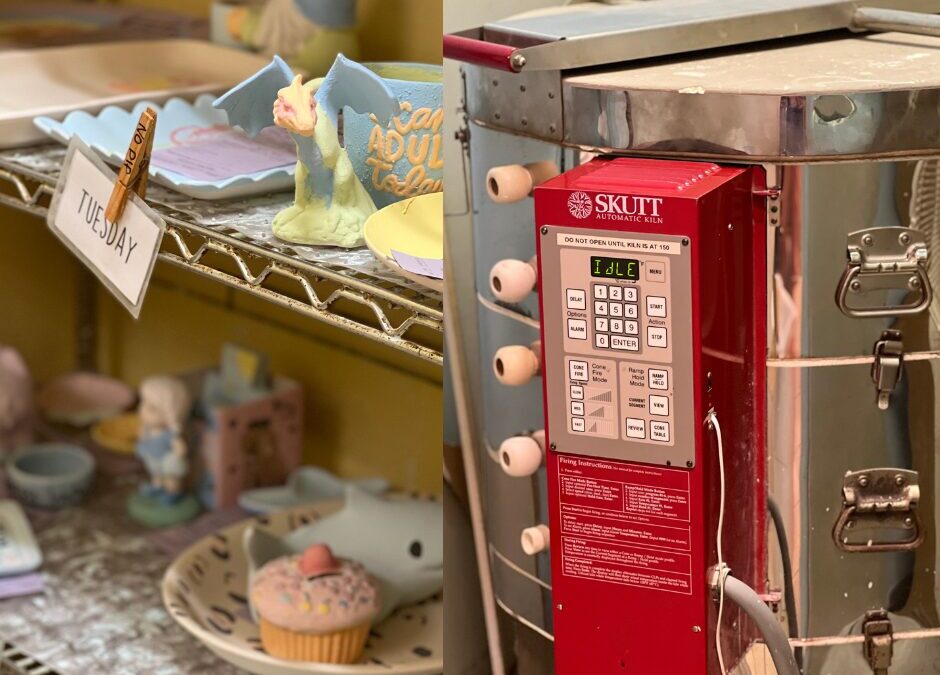
Once all the glazing processes are complete, each item needs to be fired in the kiln. Glazes are made up of very fine pieces of glass, that will melt in the kiln and rebond shiny and hard. Each item needs
to be put on what we call stilts, little ceramic pieces with metal stakes, so they do not get fused to the kiln shelves. Kilns need to heat, fire, and cool down, a process which usually takes about 36 hours. After it is
complete, the kiln is emptied by hand, which takes some time. Then, a hand dremmel or bit of sandpaper is used to smooth out any bumps left from the stilts.
And finally, it is time to pick up your piece! A lot of work goes into making sure your piece is properly cared for, and that is why it often can take a week before you can pick it up. But then, you get a
lifetime to cherish it.

by CCSA Admin | Jan 24, 2024 | Blog
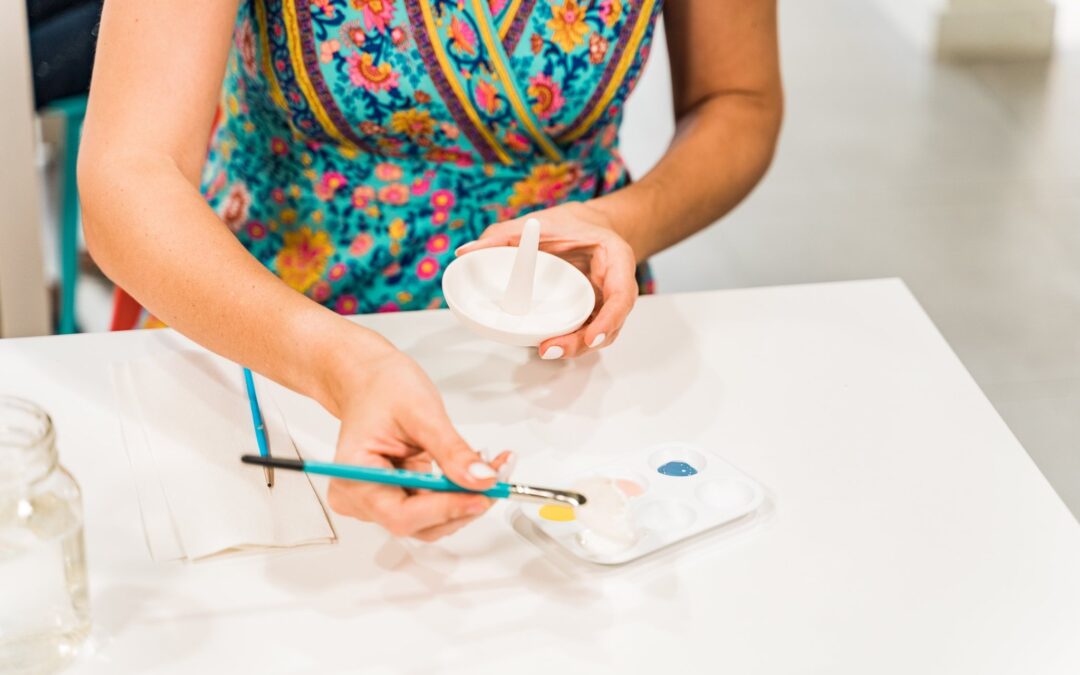
The process of painting pottery can be a relaxing and stress-relieving activity. From start to finish, paint-your-own-pottery provides a creative outlet that is low-stakes and endlessly fun. Begin by picking out
a piece, perhaps something you’ve been needing to buy for your home anyway, or something that just speaks to you. Choose your favorite colors, sketch out a design, and begin!
One great aspect of PYOP is that nearly every mistake can be undone. If you sketch something out that doesn’t look right, no need to fear! Simply smudge the graphite and begin again. It will all burn off
in the kiln, so the pencil lines are only to guide you. Pro tip: don’t use the eraser, as it will make the pottery resistant to glaze. If you make a mistake painting, glazes are water soluble and can be touched up
with a wet Q-tip or sponge. You can even use the back of a paintbrush or a thin tool to etch away paint and leave a crisp, white line around your design.
While some may be comforted by the many steps that can lead you to a polished piece, others may find it cathartic to simply paint with no plan. With PYOP, that works great! Choose your favorite
colors, grab a brush, and do whatever feels right. No matter what, it will come out shiny and vibrant.
When creating art of any sort, your mind can shift focus away from whatever might be weighing on it, and shift your energy into simply creating. When you get in the zone, time will fly by before you
notice, and your mind will clear. Designating time to focus on yourself, and to let yourself be creative, is true wellness. With PYOP, there is a tangible result in the form of a mug or a vase; every time you see
the item in your home, you’ll be reminded of your artistic capabilities, how much fun you had, etc.
Whether you have hours to spare or just one weeknight a month, we recommend carving out time for self-care and doing so with PYOP. Treat yourself to creativity, and make something that is completely
under your control from start to finish.


